
Moonchild Stained Glass Crochet Bag
Two-Sided, versatile little round bag, crocheted in rounds with a stunning stained glass pattern
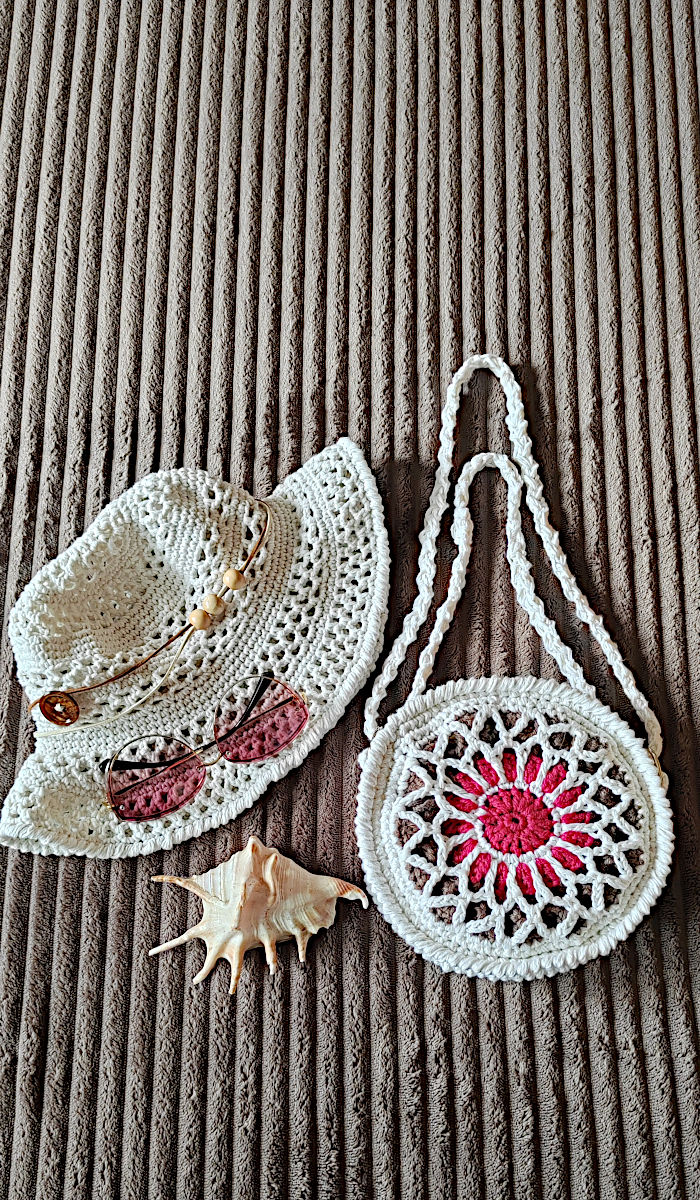
Stained Glass Crochet Bag is a part of the Moonchild light summer knit & crochet set. The versatile, two-sided, round bag is a lovely and practical addition to the rest of the collection. Two halter-tops, 2 lacy skirts, cowboy/romantic hat, and a chic bracelet create a perfect beach and leisure assembly. Read about it and get the pattern below!
Moonchild Stained Glass Crochet Bag
This small round bag is one of my favorite creations from the Moonchild collection—practical, lightweight, and truly eye-catching. I crocheted it in red, brown, and white, playing with contrasts to achieve a reversible design.
Two sides, two looks
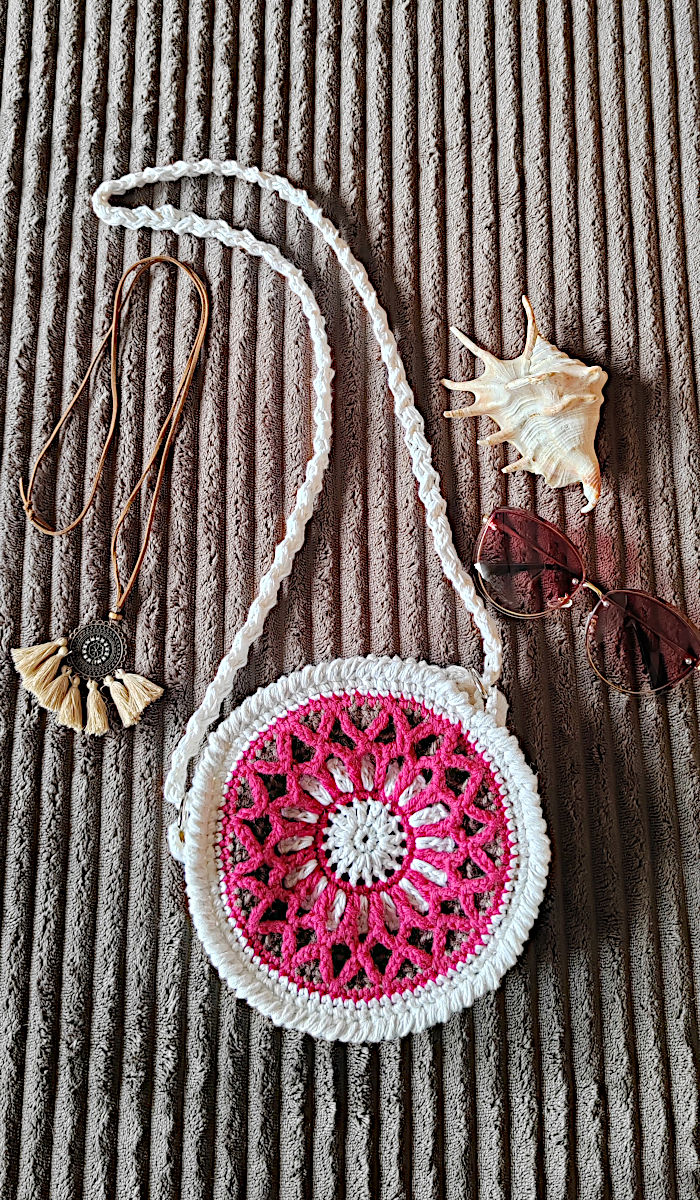
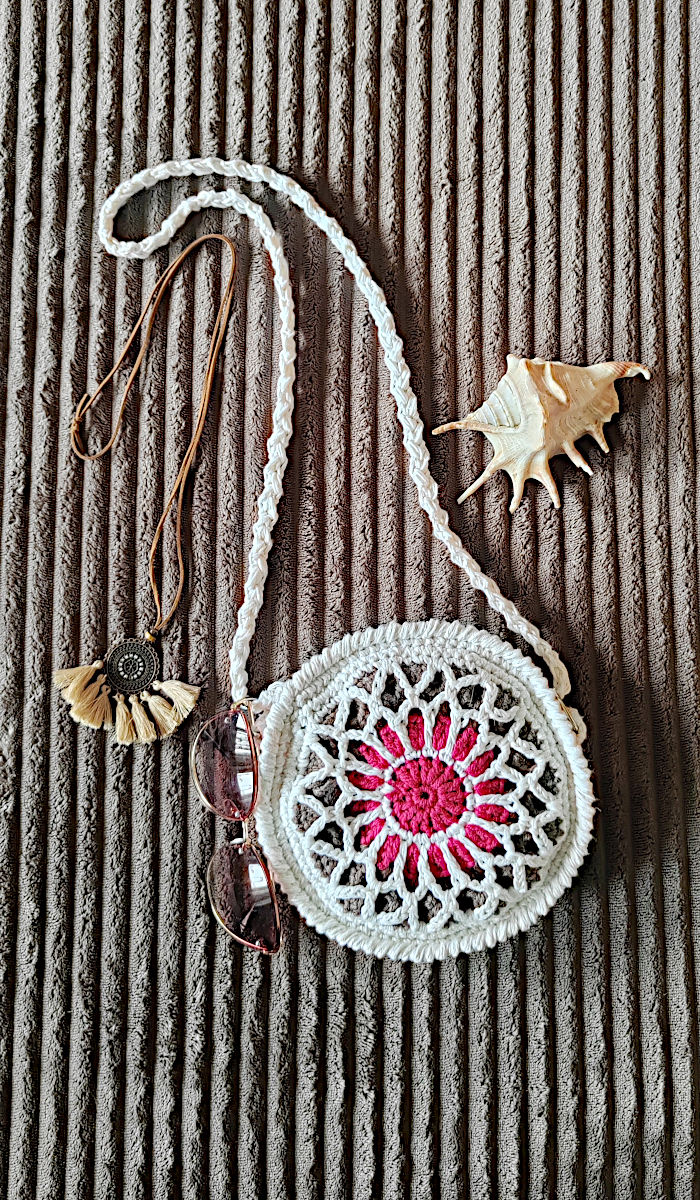
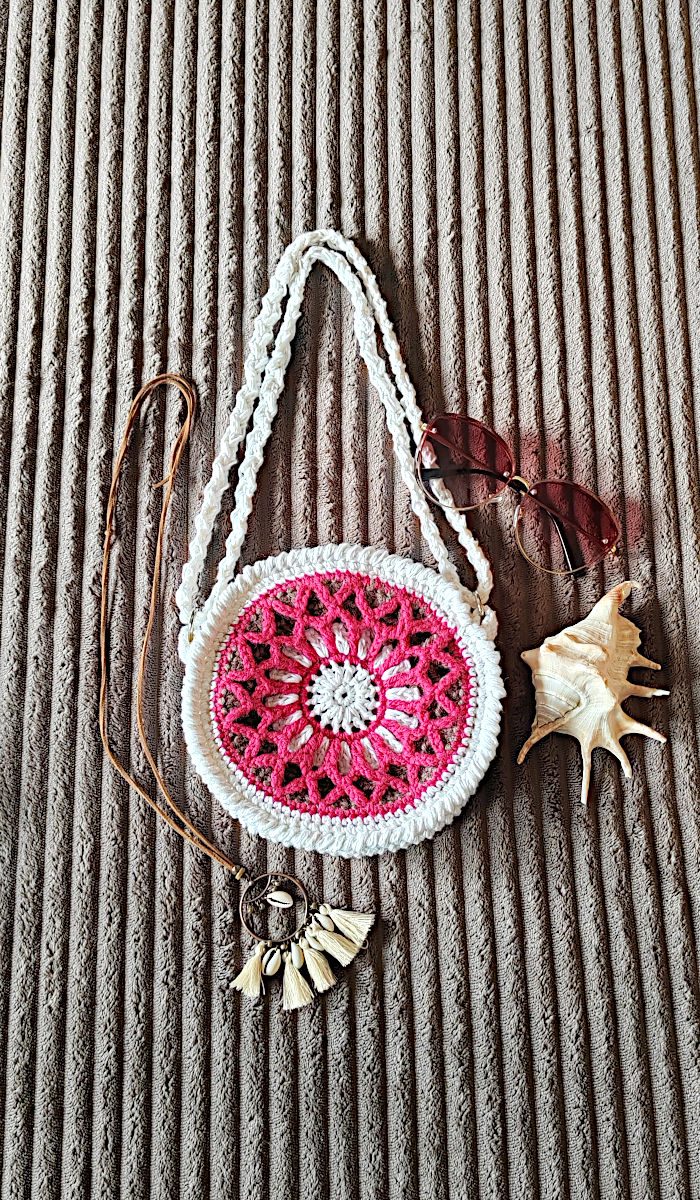
Each side is slightly different: one features a red center framed with brown and finished with a white stained glass mesh, while the other has a white center, brown around it, and a bold red mesh. Both sides are finished in white, giving the bag a clean, harmonious look.
Details and finishing touches
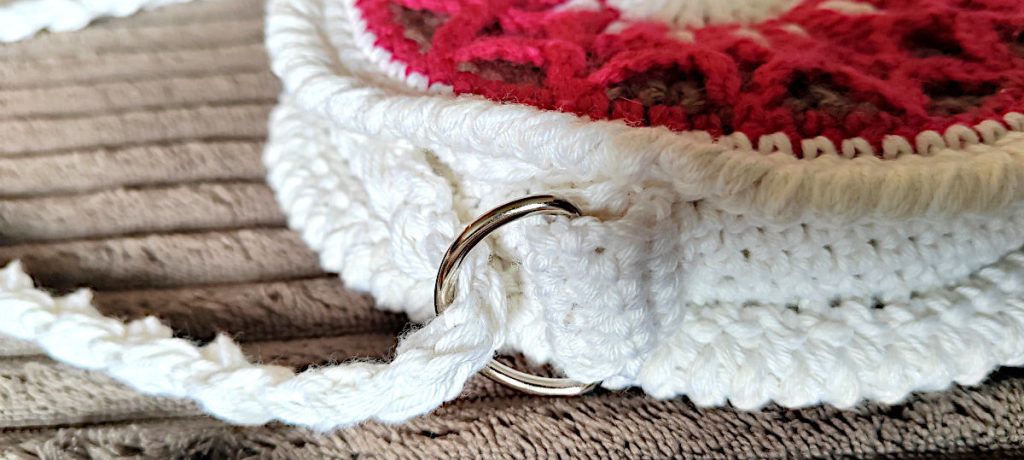
I crocheted two strap holders and attached them with a small metal connector. The strap itself is made with a special stitch (I’ll share the video link), and its length is adjustable. For closure, I skipped the zipper and instead used transparent buttons and neat buttonholes in single crochet, creating an invisible closure that feels both simple and elegant.
Adapted tutorial
The base motif comes from a stained glass crochet video tutorial I found on YouTube. In the original design, the circle transitions into a square, but I chose another approach. Instead, I worked three more rounds of single crochet and finished each side with a crab stitch. This also formed the middle section that connects the two sides.
Who it’s for
A project like the crochet stained glass bag is best suited for intermediate to advanced crocheters. Although the motif isn’t fully my own design, I made significant changes to transform a flat, square-based idea into a three-dimensional bag. This is why I felt it belonged in the Moonchild collection—it carries the same spirit of creativity, adaptation, and just a touch of magic.
level
To make the stained glass crochet Moonchild Bag you will need intermediate level of crocheting and knitting skills. Stitches used in this pattern are:
- chain
- single crochet
- double crochet
- crab stitch
- invisible join
dimensions
- Bag diameter – 20 cm / 8 in.
- Depth – 2 cm / 0.8 in
material
Yarn
- DK yarn, white, red and brown, or any color of your choice. Suitable for hooks: US 4 – 6 or 3.5 – 4mm
- Amount – 130 gr (about 80 gr of white, leftovers of red and brown)
Needles, Hooks & Other Supplies
- 3.5 mm crochet hook
- Yarn needle for weaving in ends
- 2 metal D-rings for attaching the strap
📖 Instructions Guide
Video Tutorial
You will find the basic tutorial for making such a bag in the video below. As I already mentioned, this tutorial shows the make of a square motif in which a round piece transitions into a square in the last few rounds. However, to make this bag, I followed the instructions only for the round part. In further text you will find my directions adjusted to the design of this bag.
Front Side
Colorwork for this side of the bag is the following:
- Rounds 1, 2, 4 – red
- Rounds 3, 5, 8, 9 – white
- Rounds 6, 7 – brown
I followed the video tutorial up to the 9th rnd, and then I worked with white yarn like this:
Rnd 10 – 1sc in every stitch, finish with a sl.st. in 1st st.
Rnd 11 – Like Rnd 10 but insert the hook in back loops only.
Rnd 12 – Border – In every st do the crab stitch. Finish the rnd with invisible join.
Rnd 13 – With this rnd you begin making the side panel which will connect the front and back panels of the bag. Do this rnd behind Rnd 12 (the border), by inserting the hook in the front loop of each st of Rnd 11. You remember that in Rnd 11 you worked all sts in back loops only. The reason is that you have available sts where you can insert the hook. Work this rnd like rnd 10 – 1sc in each st.
Rnds 14 – 16 – like Rnd 10.
Break yarn, weave in end. Considering the fact that in rnds 13 – 16 you don’t add sts, this side panel will bend forward.
Back Side
Make the back side of the bag in the same way like the front but use this colorwork scheme:
- Rounds 1, 2, 4, 9 – white
- Rounds 3, 5, 8 – red
- Rounds 6, 7 – brown
Also, in Rnd 14 make 2 buttonholes: 20sc, sk2, ch2, 10sc. Then again sk2, ch2, sc to the end of rnd.
Rnd 15 – 20sc, 2sc in ch-sp, 10sc, 2sc in ch-sp, sc to the end of rnd.
Rnd 16 – Like Rnd 10. Break yarn, weave in end.
Assembling the sides
With yarn needle and white yarn sew the side panels one to another by hand. To do that, with right sides facing each other, lay the side panel with buttonholes onto the other side panel, so that it covers it completely. Pin them together. Start sewing in the 8th st from one buttonhole and sew the left side of the upper side panel onto the bottom panel. Stop sewing when there are 7sts remaining from the second buttonhole. Secure yarn with 2 knots, weave in end.
Flip the bag onto the right side and sew the other sides of the side panels in the same way.
Opposite the buttonholes sew 2 buttons on the inner side of the panel. The buttons will be hidden inside. That way you will have a nice, invisible closure on the bag.
Strap Holders
Make 2 strap holders like this:
Rnd 1 – Ch7, do 1sc in 2nd st from the hook, then 5sc. Turn.
Rnd 2 – Ch1, 6sc, turn.
Repeat Rnd 2 9 times; pull the strap holder through one metal D-ring, fold the strap holder in half and sew both ends to one side panel.
In the same way make the other strap holder and sew it onto the side panel opposite the first one.
Strap
Make the strap in the following way:
Rnd 1 – Start with ch3, hdc in 3rd st from hook, turn.
Rnd 2 – 2hdc in space between ch2 and hdc, turn.
Rnd 3 – 2hdc in space between 2hdc, turn.
Repeat Rnd 3 until you crochet a 140 cm / 55 in long strap. Break yarn, leave a long tail for sewing the ends. Pull the strap through both D-rings on the bag and sew the 2 ends together. Weave in ends.
A strap made this way can be adjusted to your needs. You can make it long to carry the bag over your shoulder, or you can hold double strap and carry the bag in your hand. See the photos above.
A Look at Variations
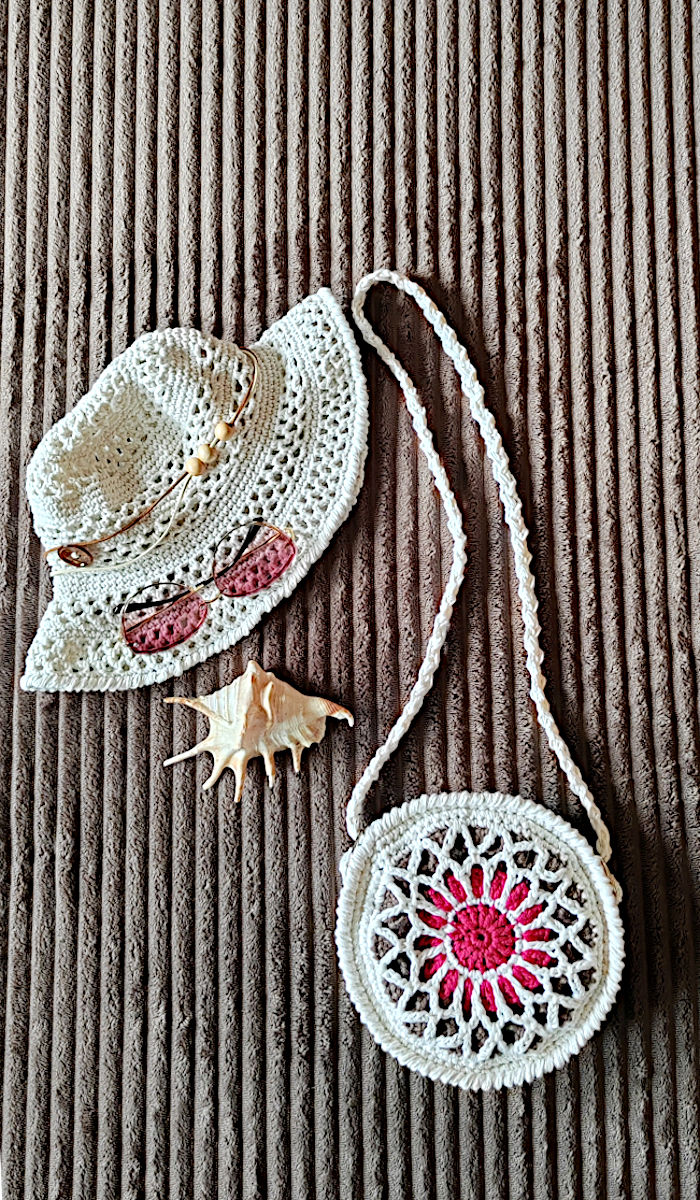
In the photo below, apart from the bag, you can see Moonchild Hat and Bolero Shrug. As a little reminder of the summer, sea, sand and joy, a large shell found its place in the assembly, a beloved souvenir from long gone travels…
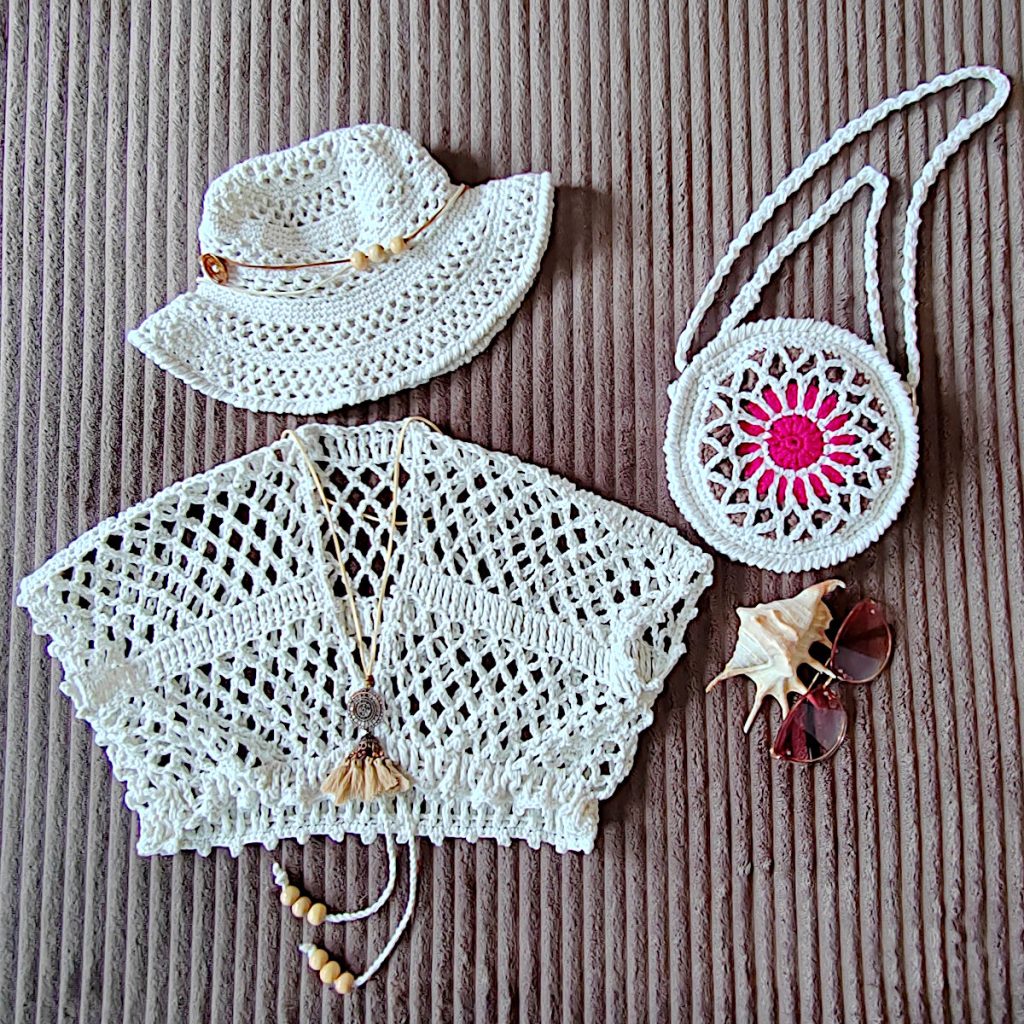
Balance in Motion
There’s something special about this set—the way crochet and knitting meet, the contrast of open space and dense texture—that feels a lot like balance. And maybe that’s what Moonchild is all about: a little wild, a little grounded. A dance between Mother Earth and the wandering Moon child.
💛Need more crochet inspiration?
]This piece is just the beginning. Discover the full story in the Moonchild Collection.