How to Change Color in Granny Square (Without Endless Weaving In Ends)
Learning this simple method of color change in crocheting the Granny Square will change your perspective forever. You’ll never have to weave in ends for all eternity again!
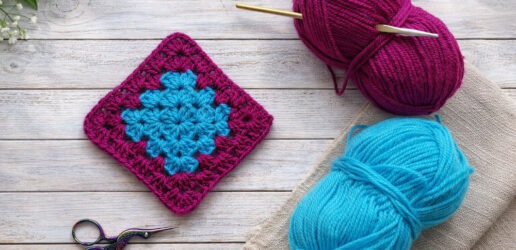
Learn how to change color in Granny Square with this easy step-by-step tutorial.
How I Change Color in Granny Square (Without Endless Weaving In Ends)
If you love colorful crochet as much as I do, you probably change colors often — sometimes every round, sometimes every second round. And while a multicolor granny square looks beautiful, all those yarn ends can quickly become the least enjoyable part of the project.
That’s exactly why I developed my own method to change color in granny square projects. I wanted a neat finish, fewer loose ends to weave in, and a transition that looks clean on both sides of the work.
In my latest video tutorial, I demonstrate this technique on a granny square, but it works just as well for other crochet pieces made in rounds or rows.
Why This Method Works So Well
When you change color traditionally, you often end up with multiple tails that need weaving in later. This can be time-consuming, especially in projects with frequent color changes.
My approach:
- minimizes long yarn tails
- keeps joins secure
- creates a visually clean color transition
- hides the join discreetly near a corner or stitch cluster
- The result is a professional look without extra finishing work.
My Method to Change Color in Granny Square
Here’s the basic idea behind the technique:
1. Finish the round normally
Complete the round of your granny square as you usually would.
2. Cut the yarn (leave a short tail)
Instead of leaving a long tail, cut the yarn leaving about an inch (2–3 cm). This keeps bulk minimal.
3. Unravel a few stitches
Carefully undo a couple of stitches so you have enough yarn length to make a secure joining knot with the new color.
4. Join the new yarn with a knot
Tie the new yarn to the old yarn using a small, firm knot. The key is positioning — it should sit close to the corner or cluster so it blends naturally into the structure.
5. Re-crochet the undone stitches
Work those stitches again, crocheting right up to the knot.
This locks the join into the fabric so the knot stays hidden on both sides, giving you a tidy, almost invisible color change.
Final Thoughts
Crochet should be relaxing and enjoyable — not dominated by finishing work. Finding small efficiencies like this color-change technique makes a big difference over time, especially for colorful designs.
If you’d like to see the method step by step, check out the video tutorial linked below where I demonstrate exactly how I change color in granny square motifs for a neat, professional finish.
Happy crocheting — and may your ends always be minimal!